Uotilanrinne Multifunction Centre – Instructions for using the scoreboard system
Rauma Uotilanrinne Multifunctional Centre
Instructions for using the scoreboard system
Current operating instructions for the sports available for you during matches:
Floorball
Fsalute
This page contains the preliminary arrangements required for the use of the Jidokan scoreboard system. If you wish to modify the files displayed during a match, the necessary files must be downloaded in advance. before the match For the USB stick, from which the match content is transferred to the scoreboard via the control tablet.
In case of problems, please contact support@jidoka.fi.
Display Information
File requirements
Images to display: jpg and PNG
Media files MP4
Audio files MP3 and wav
Media The recommended resolution for images and videos displayed on screen is 1920x1080px. Maximum video bitrate 5000kbps.
Ad:
Advertisements shown in the middle of the screen during the match: 1920×1080 pixels, 16:9 aspect ratio.
Advertisement file formats jpg, JPEG, PNG and MP4
Logo files PNG, JPEG or jpg, me
nimi 400 by 400 pixels (1:1 aspect ratio)
Please note: Text files must be saved in UTF-8 format.
USB stick pre-setup
Create a folder on the USB stick called dsbController and subfolders inside this folder ad, guest, Home, media and goal.
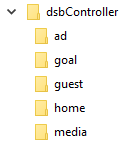
- adIn-game advertisements displayed on the scoreboard advertising space
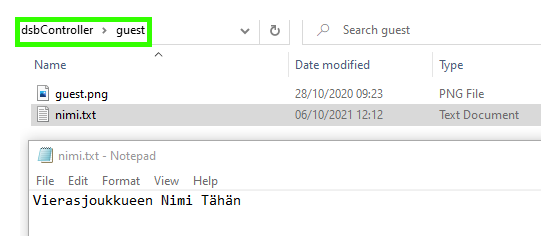
- Guest. The away team's logo and name. The logo is an image named ”guest” and the name is a .txt file with the team name on the first line.
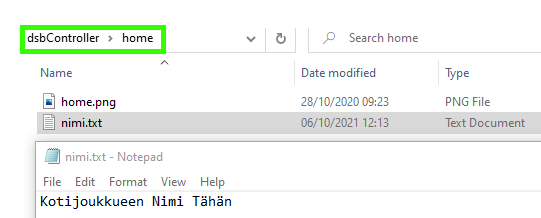
- home The content corresponding to the guest folder, but with the filename for the logo being home.png
- media Video and audio files played via the video and audio lists that open from the ”Show video” and ”Play audio” options on the control tablet menu.
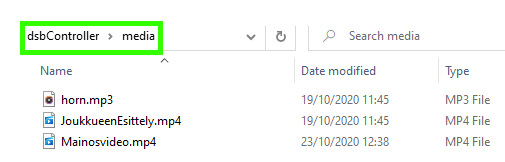
Your summer sound can be added to this folder hornnamed .mp3as a file.
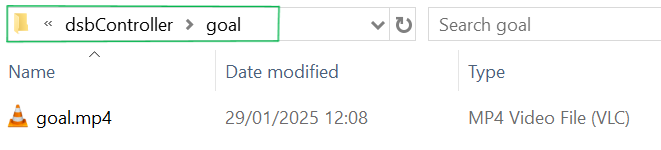
- goalVideo or videos to be played with the score video button. If multiple videos are added, they will be played by pressing the button. random video
Switching HDMI source
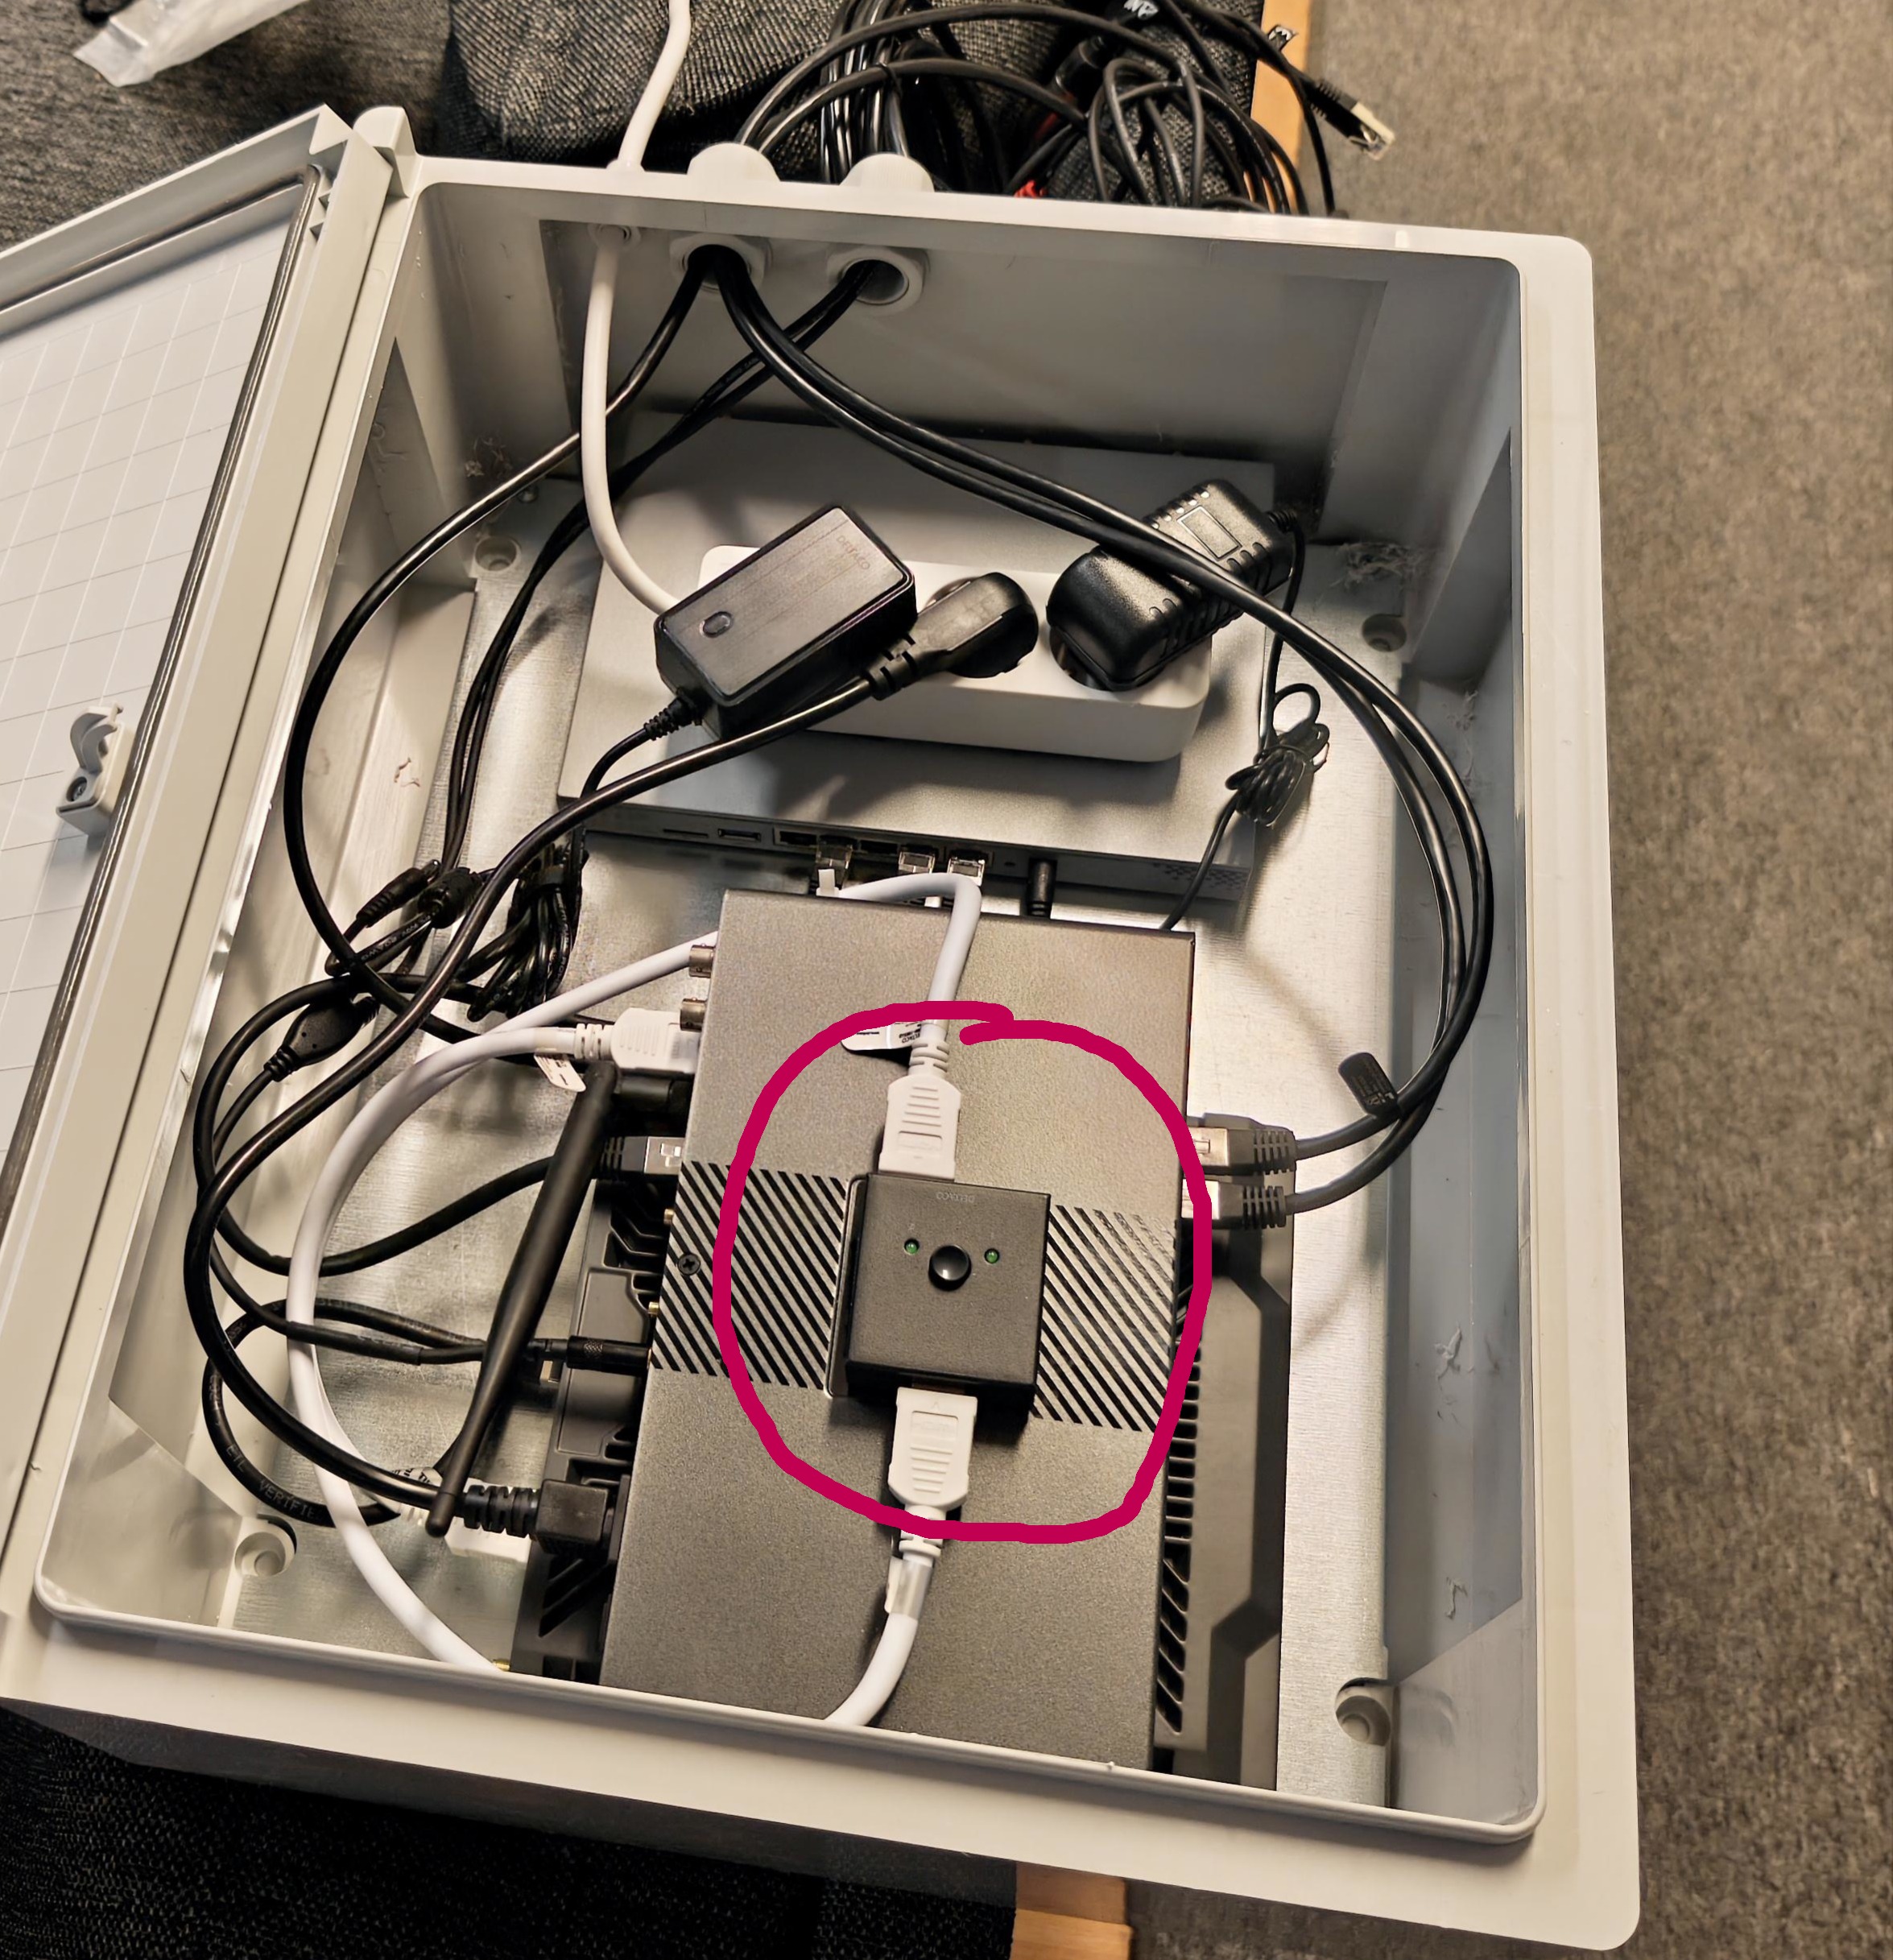
An external device can also be connected to the system using an HDMI cable. Open the device cabinet door and connect the HDMI cable to the visible HDMI switch that has a free slot. Change the image source by pressing the button on top of the HDMI switch. For example, a laptop can be connected to the HDMI connection.
Note: The screen automatically adjusts the image size and resolution, so separate settings are generally not required.